- NDI division TOP
- Flaw Inspection
EddyInspector LXⅡ model 5010 - Eddy Current Flaw Detector for Pipe Production Lines

Eddy Current Flaw Detector for Pipe Production Lines
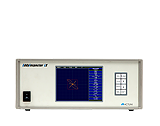
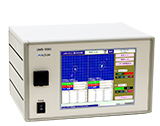
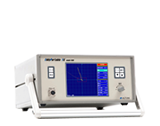
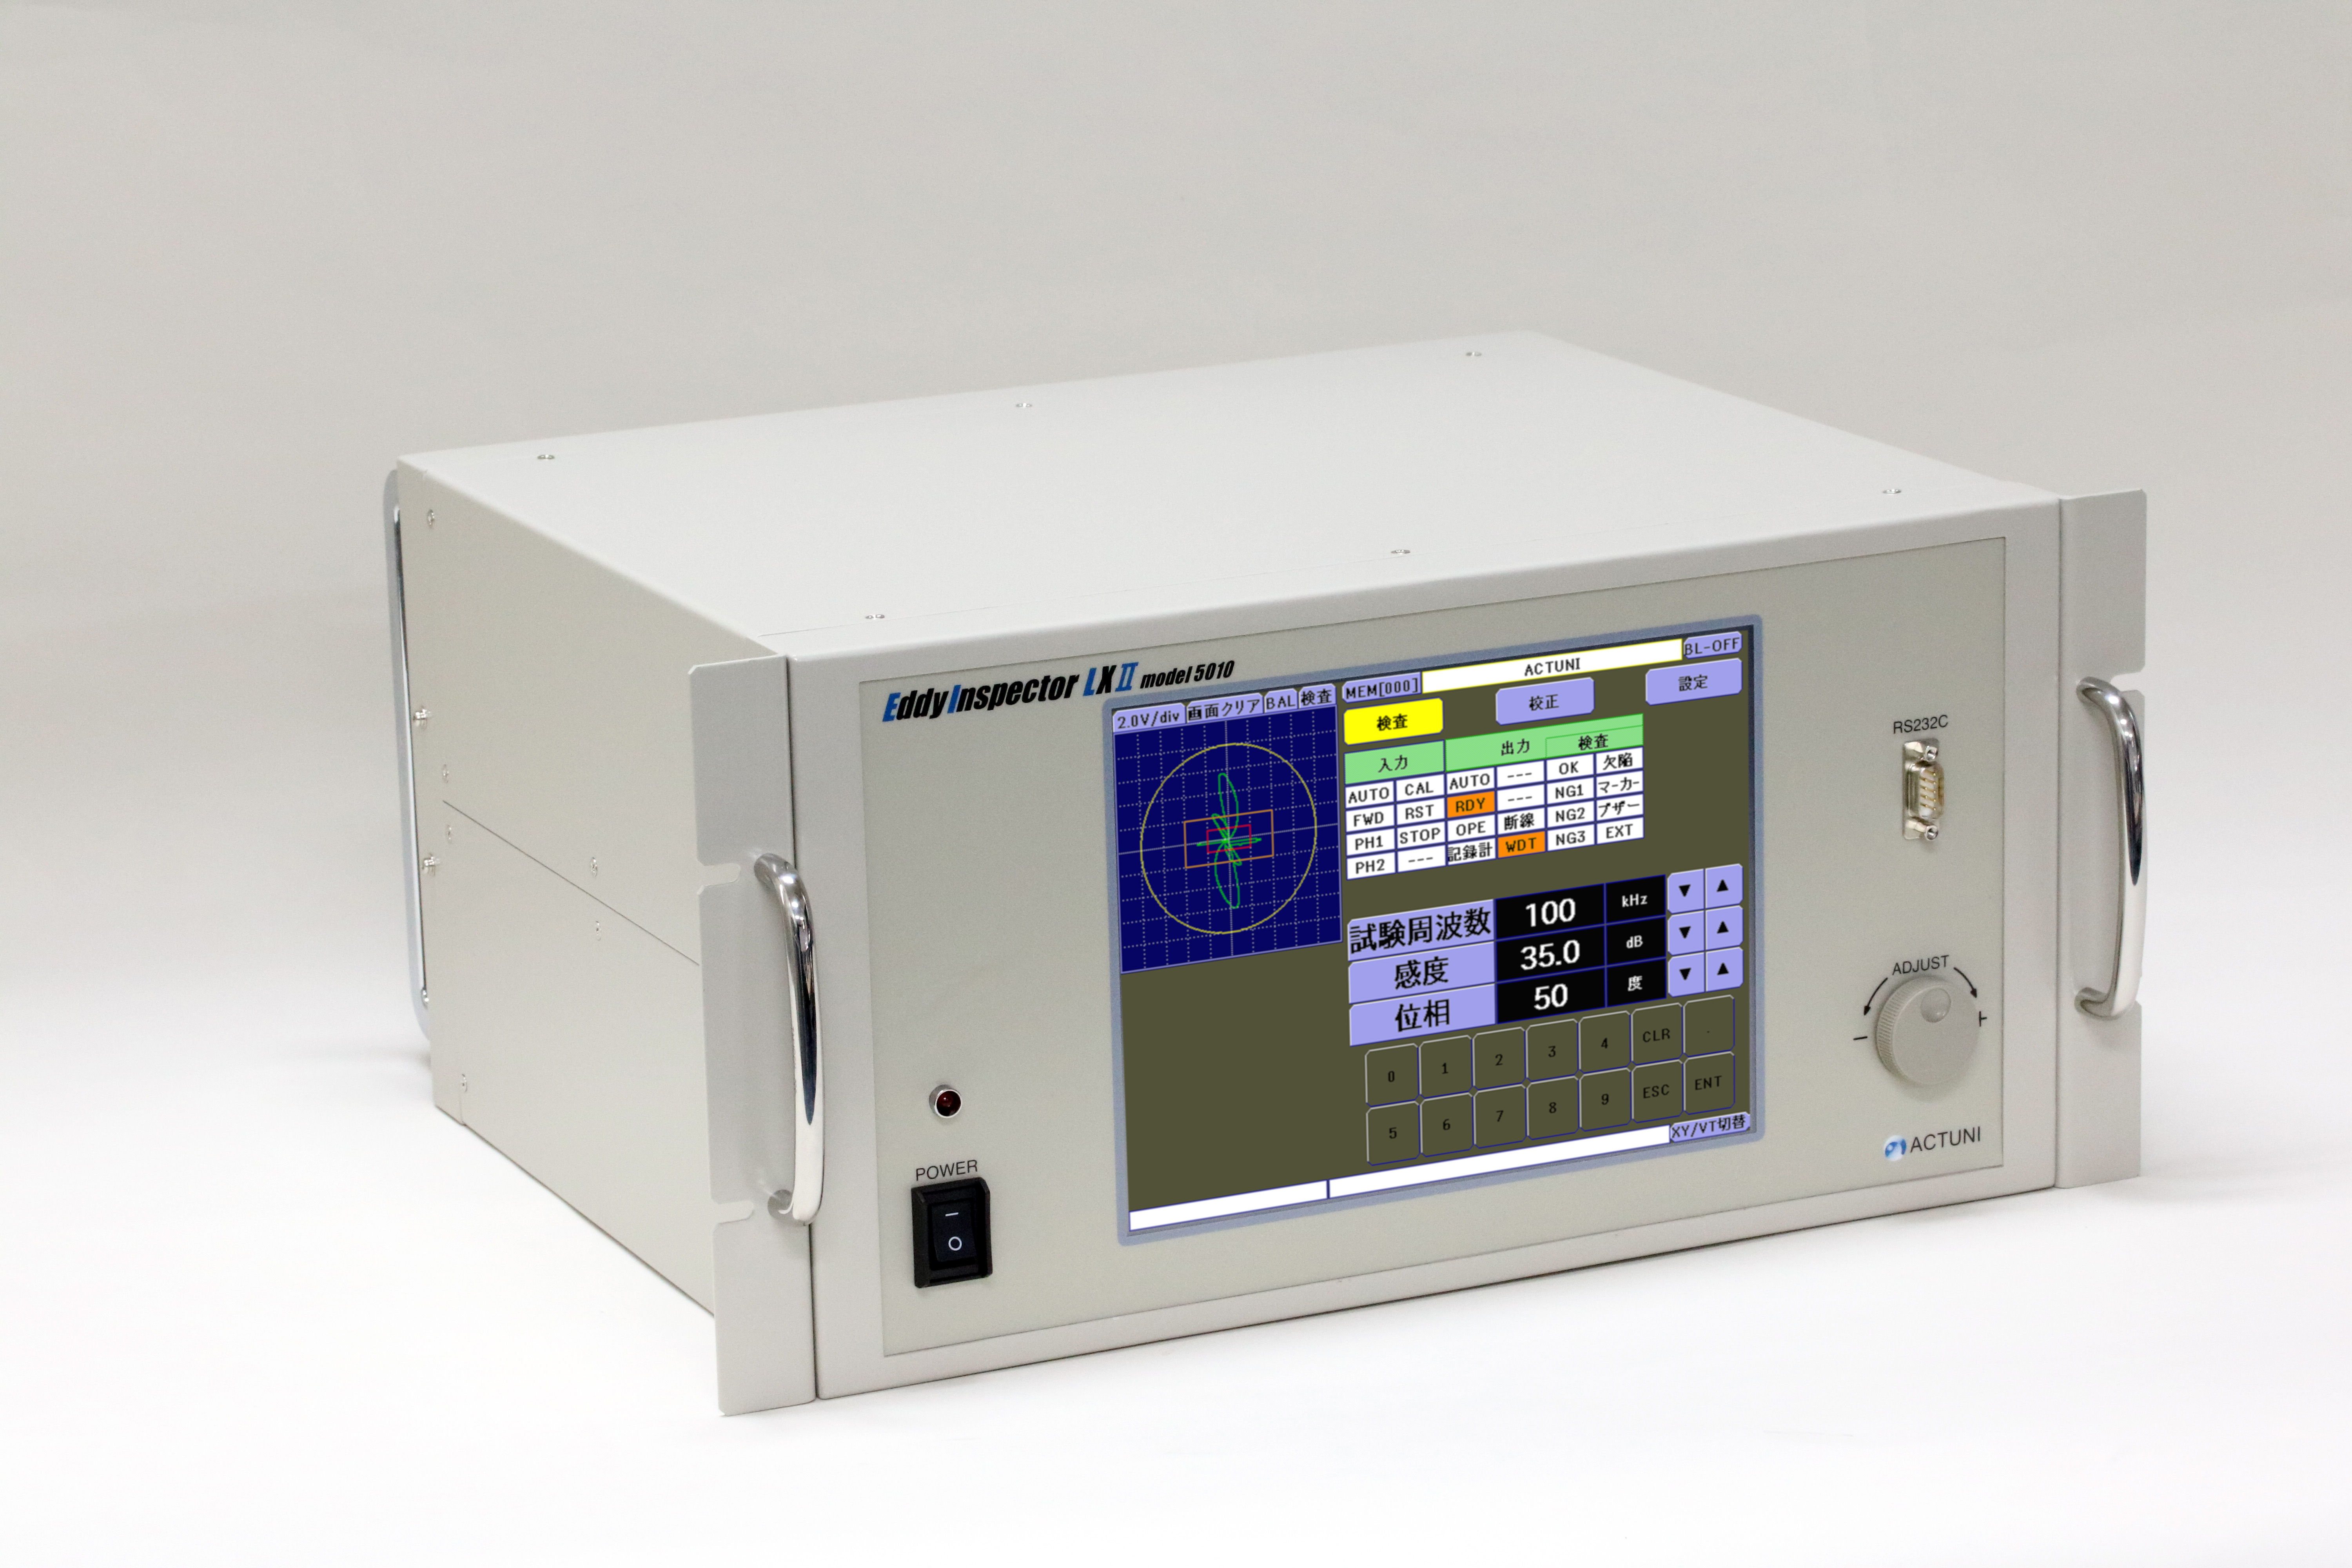
The EddyInspector LXⅡ model 5010 is an eddy current flaw detector developed specifically for production lines for long products such as steel pipes and wire rods. External control capabilities required for inspecting long products are all built into a single body. The detector can fit into a 19-inch rack, making it an ideal upgrade from an analog flaw detector.
Main Features
- A 10.4-inch TFT color LCD touchscreen
-
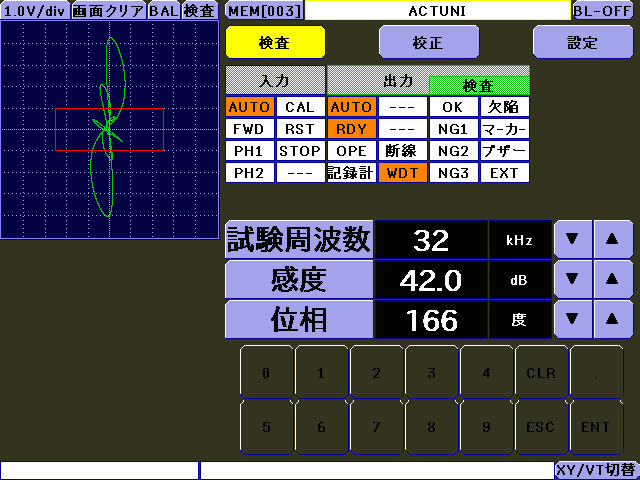
The EddyInspector LXⅡ model 5010 employs a TFT color LCD that is easy to read even in bright light. The large 10.4-inch LCD has large setup buttons, offering superior field operability. In addition, the detector has no physical switches, eliminating the need to worry about poor switch contact due to degradation over time.
- Intuitive testing views
-
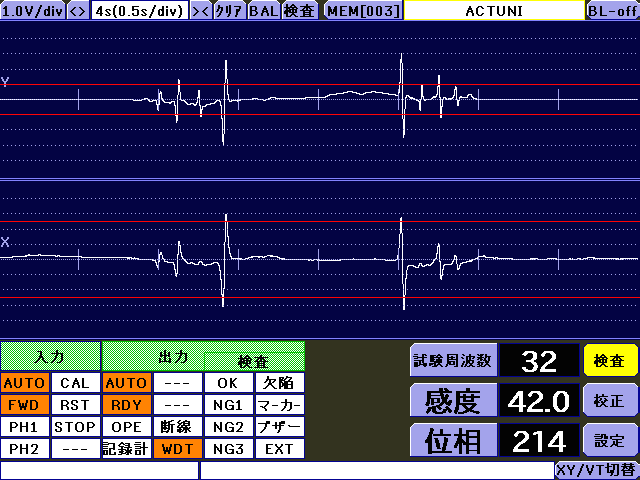
The EddyInspector LXⅡ model 5010 offers new type of waveform view - VT view - making it easier to check the temporal change of the measured waveform.
- Signal processing functions
-
Rejection (gate mode) and peak-hold functions are included as standard.
These functions make pass/fail evaluation easier and allow a recorder to print analog signals simply according to on-site needs.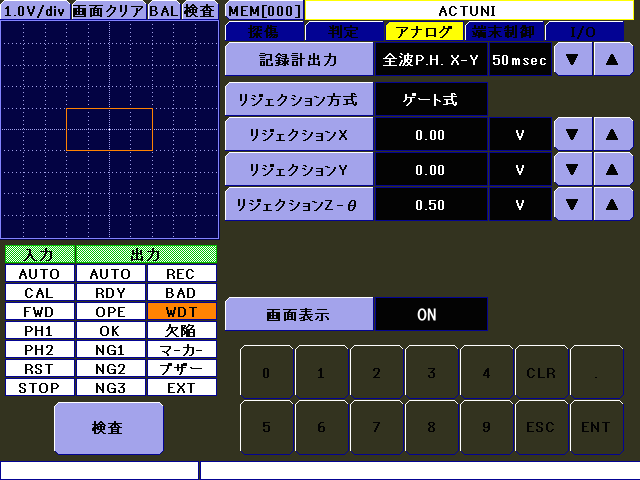
- Calibration function
-
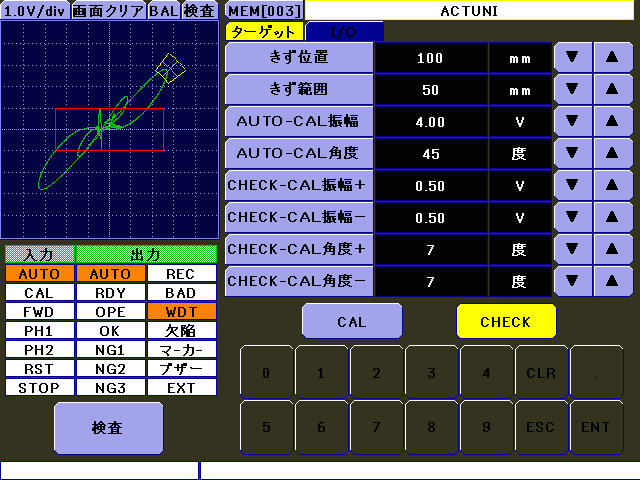
The detector can automatically adjust sensitivity and phase. By passing a sample for calibration through a test coil, the operator can have the detector automatically adjust the peaks of the resulting defect signal to the preconfigured amplitude and phase settings. This function makes it simple to set up parameters.
- A wealth of evaluation capabilities
-
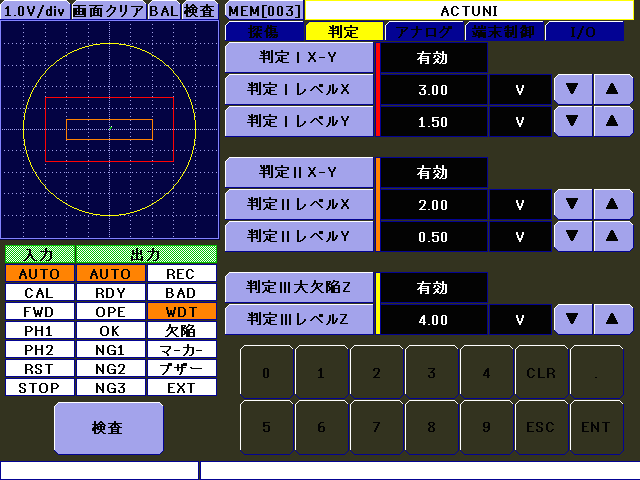
The detector allows the operator to set rejection thresholds for "square-zone evaluation" (two types) and "circular-zone evaluation" (one type), and is equipped with mutually independent I/O ports for the different types of evaluation. This feature makes it possible to set complicated evaluation thresholds.
- Capable of storing up to 500 parameter setups
-
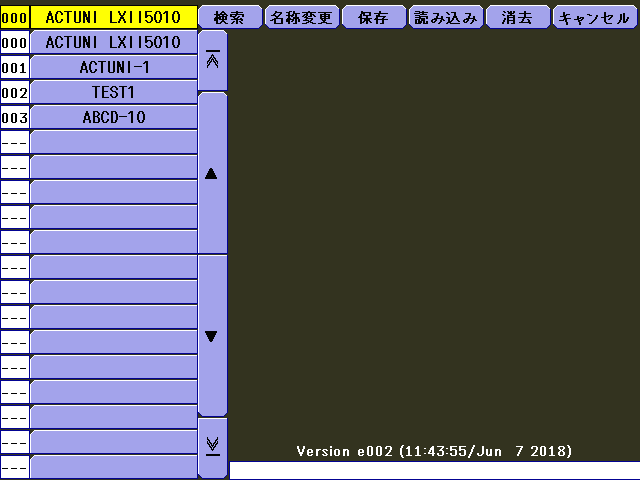
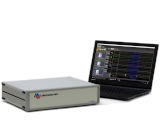
The detector can store up to 500 parameter setups. Individual parameter setups can be named (using alphanumeric characters and symbols) and easily listed, selected, or deleted. Also, parameter setups can be backed up and restored using the included PC software.
- Control inputs and outputs
-
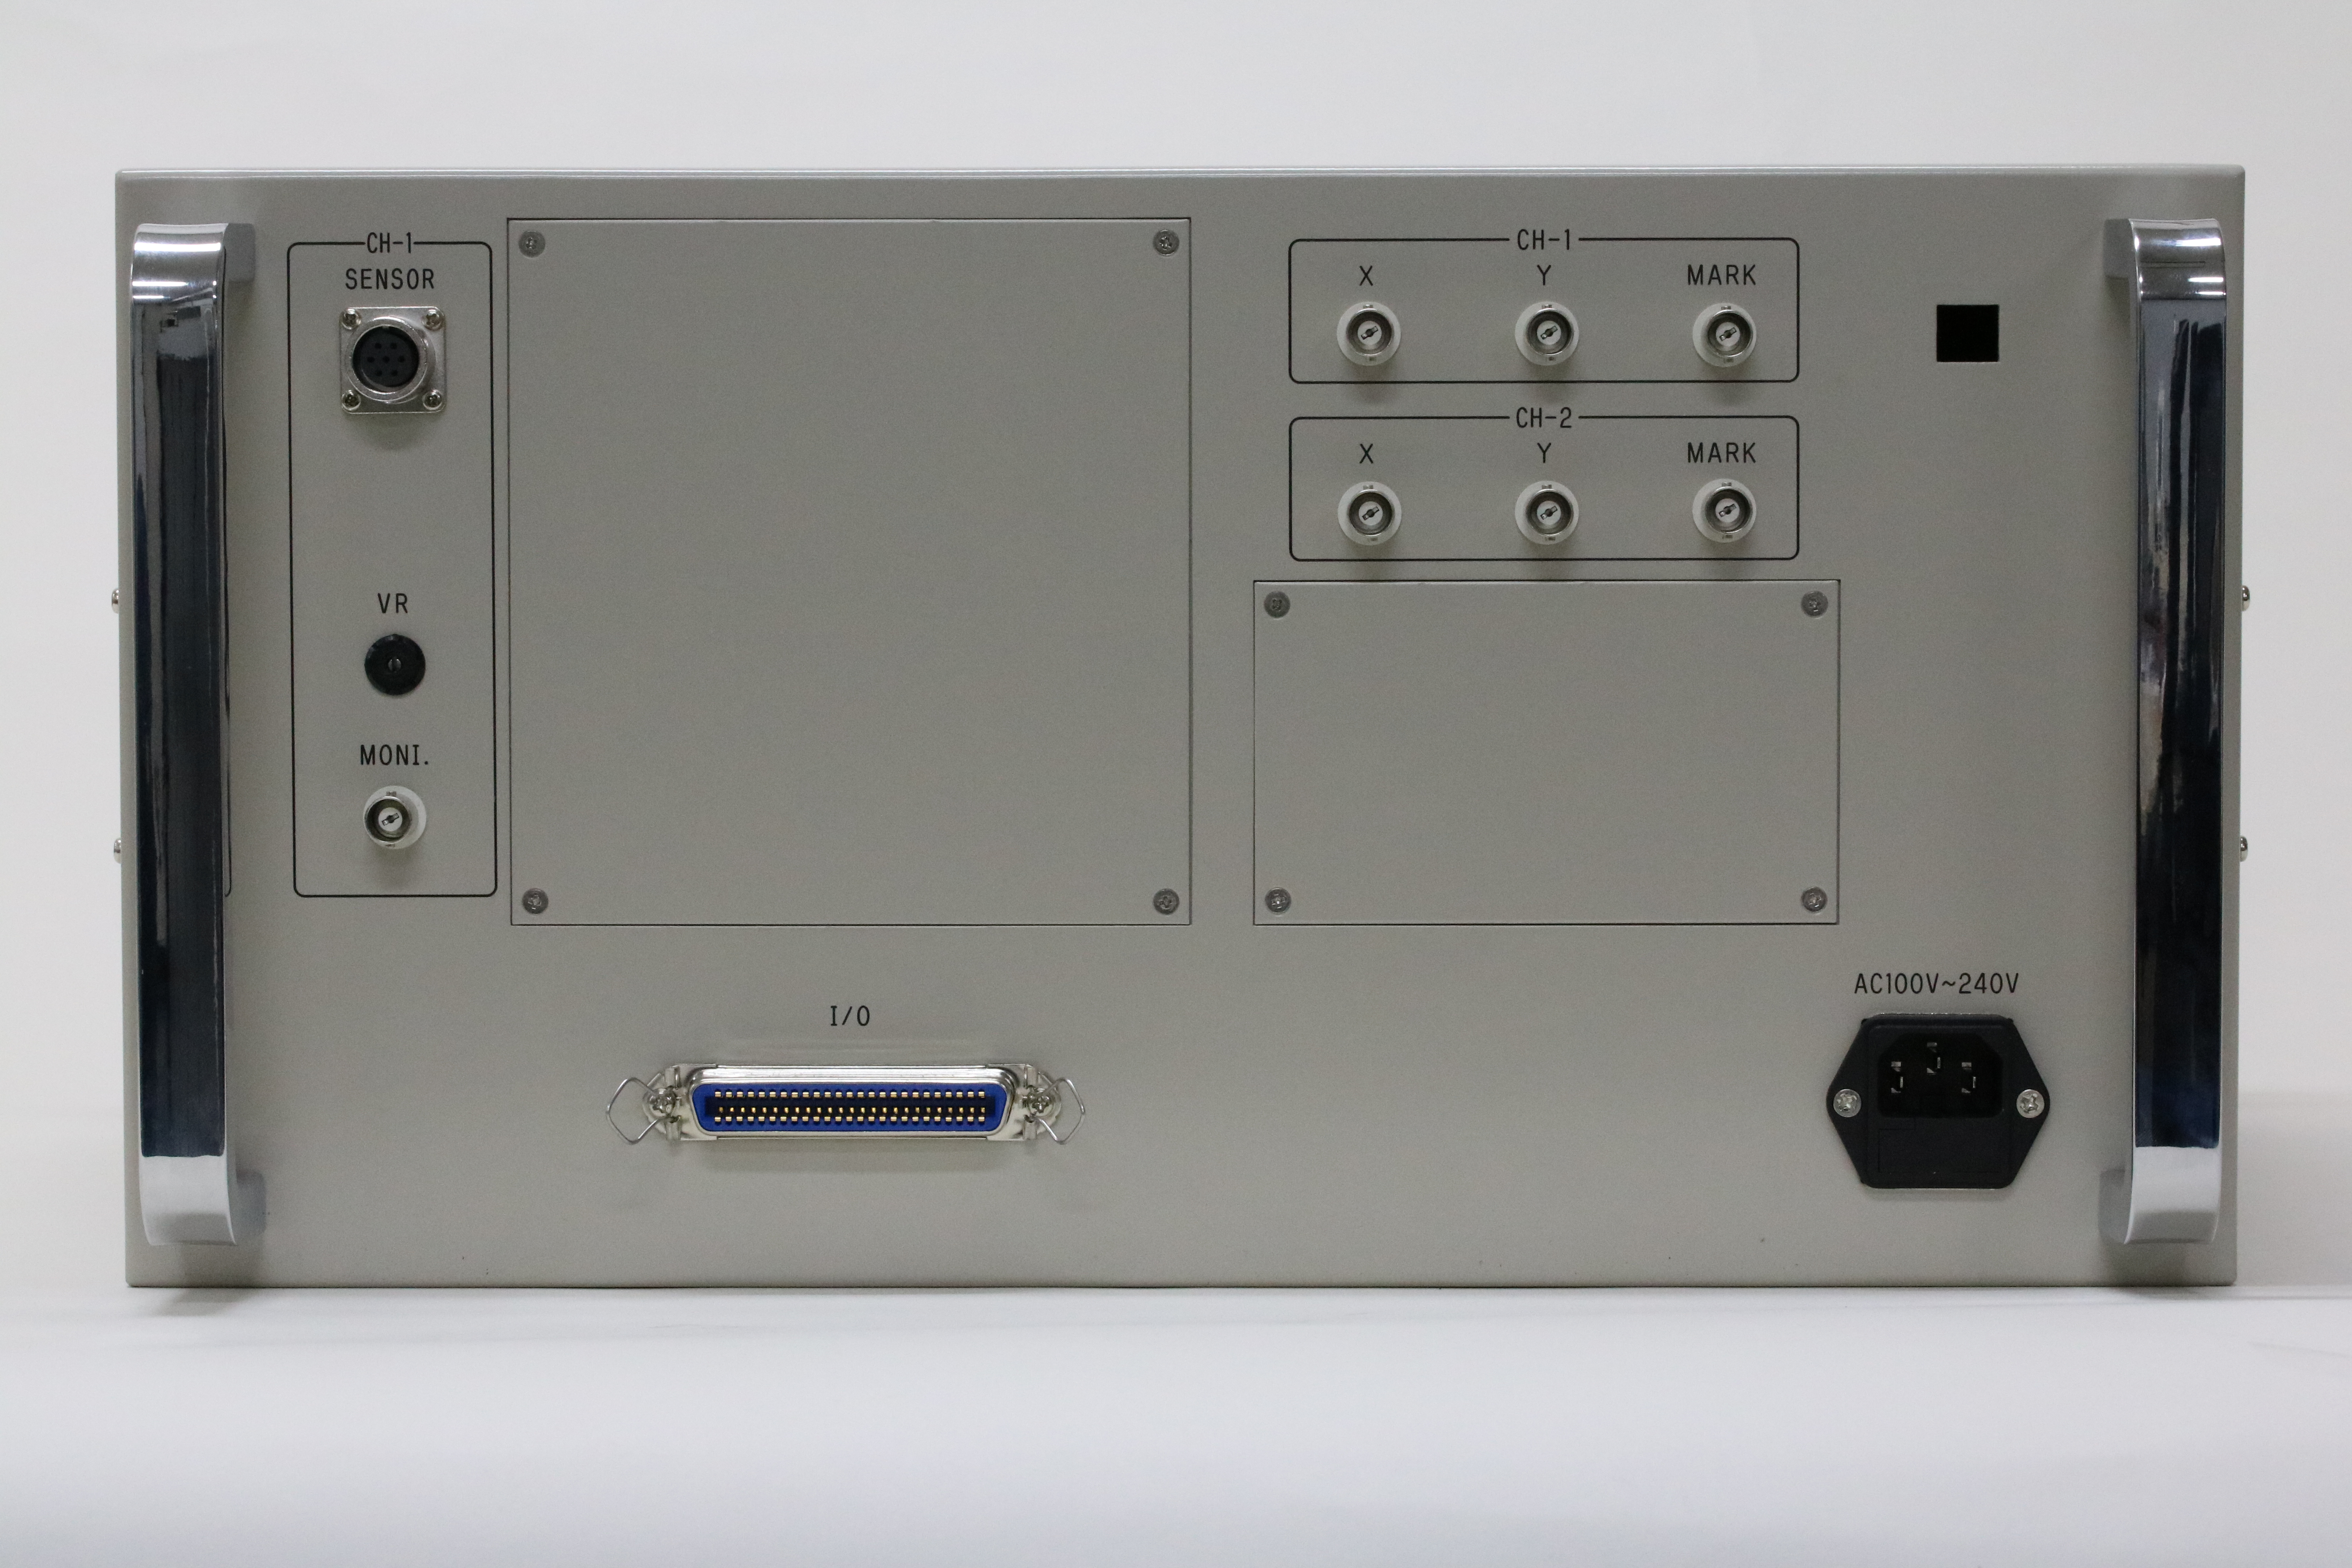
- Single- and dual-channel types available
- You can choose a single- or dual-channel type to suit your needs.
Download the latest Adobe Acrobat Reader from https://www.adobe.com/.
Specifications
| Probe Type | Self-induction or mutual-induction |
|---|---|
| Detection Method | X-Y synchronous detection |
| Test Frequency | 1 kHz - 500 kHz (1 kHz steps) |
| Sensitivity | 0.0 dB - 60.0 dB (0.1 dB steps) 60.0 dB - 80.0 dB (0.5 dB steps) |
| Phase | 0 deg - 359 deg (1 deg steps) |
| Bridge Balance | Manual balance(approx. 100 ms), Follow-up balance (2 speeds) and Auto mode |
| L.P.F. | 50 - 1000 Hz (1 Hz steps) -24 dB/oct |
| H.P.F. | OFF, 1 - 500 Hz (1 Hz steps) -24 dB/oct |
| Rejection |
Gate mode: 0 V - 5 V (0.01 V steps) Cut mode: 0 V - 5 V (0.01 V steps), X and Y amplitude 0 dB - 20 dB (0.01 dB steps) (Cut mode is optionally available.) |
| Analog outputs for a recorder | Selectable Raw, Full-wave peak hold(10 ms - 50 ms, 10 ms steps), Rejection level, or Comparator level. |
| Flaw detection | The following two types of threshold are available. (a) Window comparator centering around the origin. (X and Y individually) ±0.20 V - ±9.99 V (0.01 V steps), or disabled (b) Circle centering around the origin. ±0.20 V - ±9.99 V (0.01 V steps) |
| External control inputs / outputs | Inputs: AUTO, CAL, FWD, PH1(Photo switch), PH2(Photo switch), RST(Reset) and STOP Outputs: AUTO, RDY(Ready), OPE(Inspecting), OK, NG1, NG2, NG3, BAD (disconnected probe), Marking, Recorder on, Defect, External control, External buzzer. External control delay distance: 1 mm - 9999 mm (1 mm steps) External control output time: 50 ms - 9999 ms (1 ms steps) External buzzer output time: 0 ms - 9999 ms (1 ms steps) |
| Marking output | Flaw detection triggers the marking output using the following parameters.(contact point) Marking delay distance: 1 mm - 9999 mm (1 mm steps) Marking output time: 50 ms - 9999 ms (1 ms steps) |
| Terminal control | (a) Capable of masking front and back ends synchronized by photo switch. Setting for production line synchronization: 0 mm - 9999 mm (1 mm steps) (b) Recorder control paper feed on / off |
| Calibration | By passing a defect sample, the detector can automatically set sensitivity and phase parameter to adjust the defect peak to the preconfigured amplitude and phase settings. |
| Operation test | Capable of testing the operation of an inspection: the edge of a workpiece, marking output signal and the others. |
| Display | 10.4 inch TFT color LCD touchscreen |
| Environmental | Temperature range: 5 ℃ - 40 ℃, Humidity: 10 % - 85 % (without condensation) |
| Size | W: 420 mm H: 222 mm D: 350 mm(not including rubber legs and connecters.), approx. 19 kg |
| Power | AC100 - 240 V, 50 / 60 Hz approx. 100 VA |
