- NDI division TOP
- Nonconforming-Material Detector
UMS-9000 - Nonconforming-Material Detector for Production Lines

Nonconforming-Material Detector
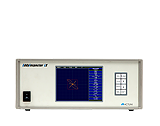
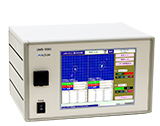
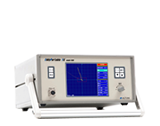
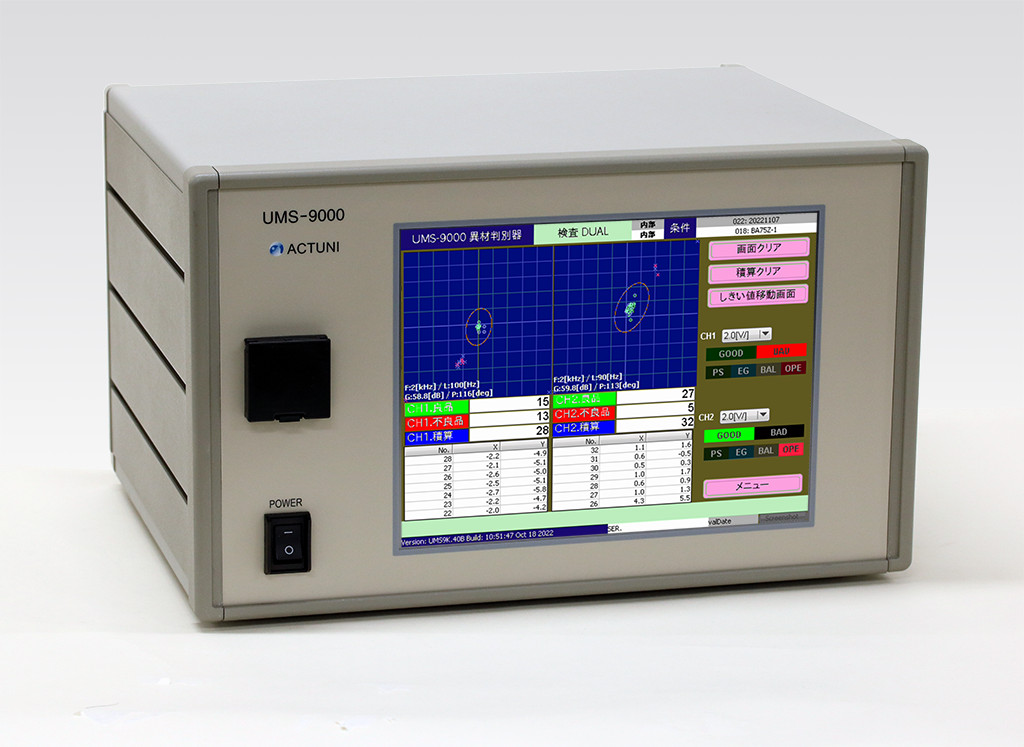
The UMS-9000 is a testing device for production lines that employs an electromagnetic induction method to inspect bearings, quenched workpieces, and other parts for nonconformity in terms of material, heat treatment, and shape.
The detector is designed to allow the operator to interactively set up all parameters on the touchscreen, so even inexperienced operators can easily use it. In addition, when in Auto mode, the detector offers an automatic evaluation feature that enables a high-speed inspection where the operator only needs to pass products through a test coil.
Main Features
-
・Does not damage the inspection target
・Inspection is possible by just passing through the probe
・No pre-processing or post-processing required
・Capable of inspecting several items per second
・Easy to use even for beginners
・2 channels can be inspected individually
Ideal for mass production lines!
Overview
- Compatibility with older models
-
The UMS-9000 is developed as a successor to the older models UMS-6500II and UMS-6700. It has the same functions as the previous model, and customers currently using the UMS-6500II model or UMS-6700 model can use it as a successor model with minimal equipment changes.
*Please contact the sales representative regarding compatibility with custom features.
- Equipped with automatic calibration function that is easy to set even for beginners
-
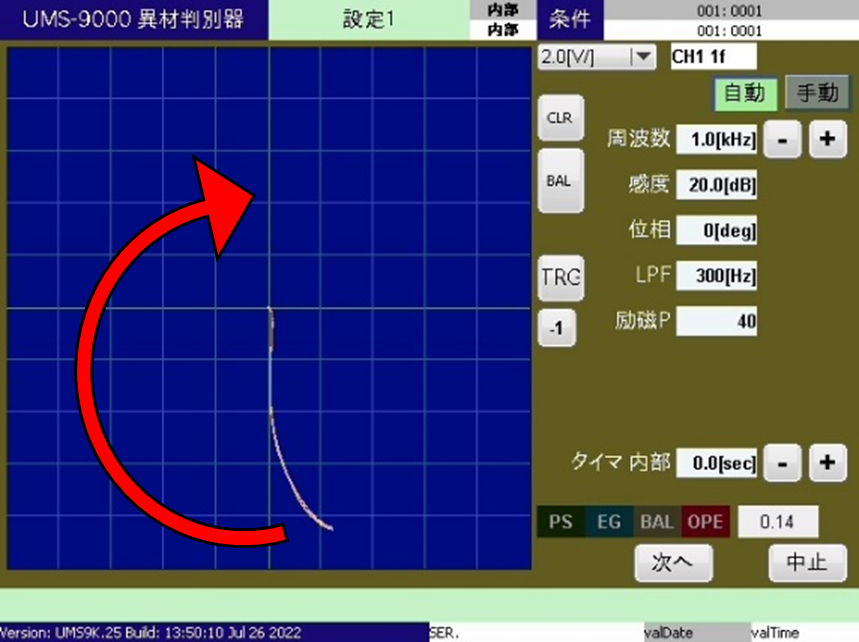
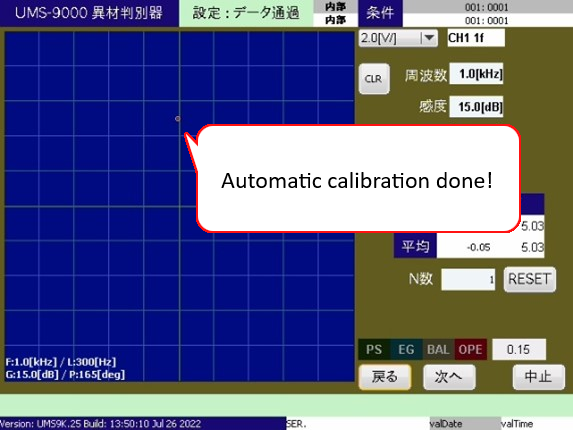
The UMS-9000 is equipped with an automatic calibration function so that even beginners can make settings. Gain and phase are automatically adjusted by simply passing the inspection item through the inspection probe. Therefore, stable adjustments can be made regardless of the skill of the individual operator. It also reduces operator training time.
- Capable of registering up to 500 inspection parameter setups
-
The UMS-9000 can register up to 500 parameter setups used to inspect products.
Parameter setups can be named using alphanumeric characters and symbols.
Because parameter setups are listed, they are easy to select or delete.
The detector is equipped with a sorting, text search, and page switching, so that you can easily search for the conditions you are looking for.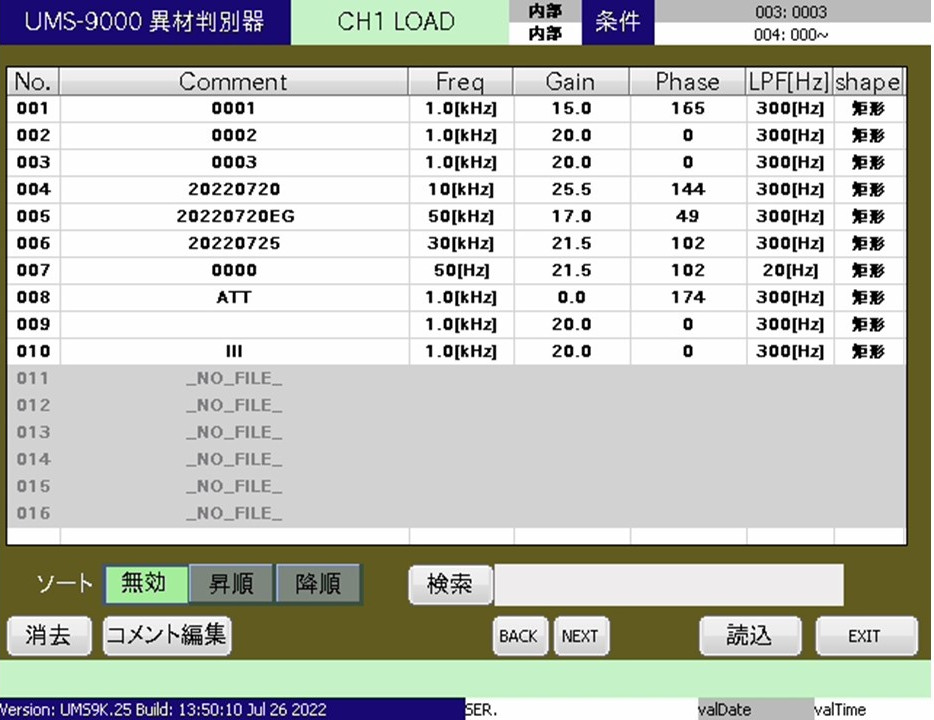
- Equipped with a data logger that can be saved to USB memory as standard
-
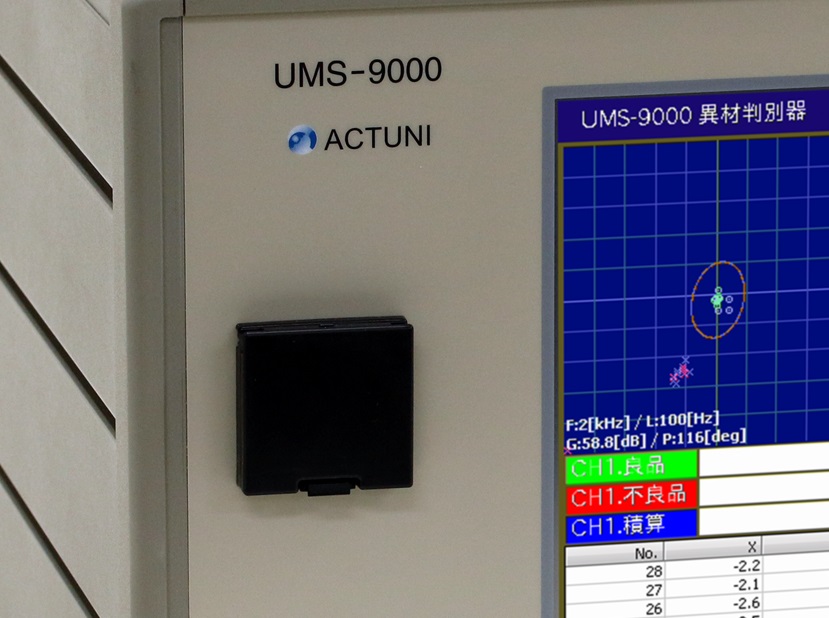
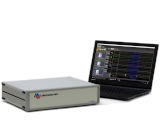
The UMS-9000 is equipped with a data logger as standard, making it easy to save test results and back up test conditions. Data is saved to the USB memory installed on the front panel, so test results can be checked and saved on a computer, allowing for traceability of test results. In addition, by backing up the test conditions to a USB memory, you can quickly copy the test conditions when replacing with spare equipment or expanding the UMS-9000.
- Password protection prevents inexperienced operators from accidentally changing advanced settings
-
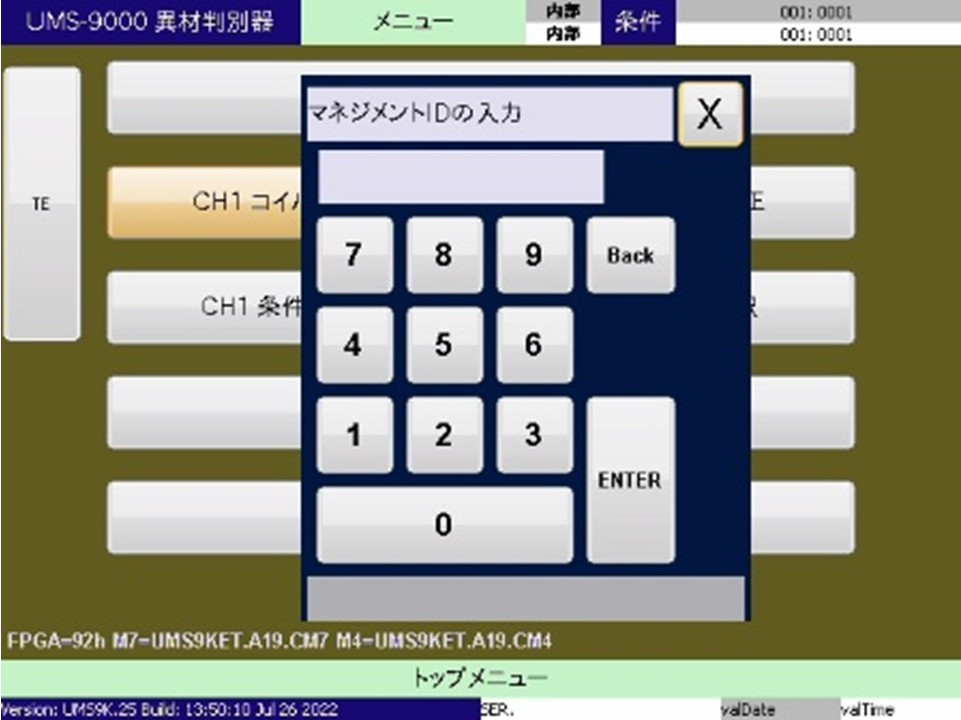
A password has been set to prevent anyone other than the administrator from changing the settings. The selection of inspection conditions and some functions can be changed by anyone, but others are password protected.
- Back panel
-
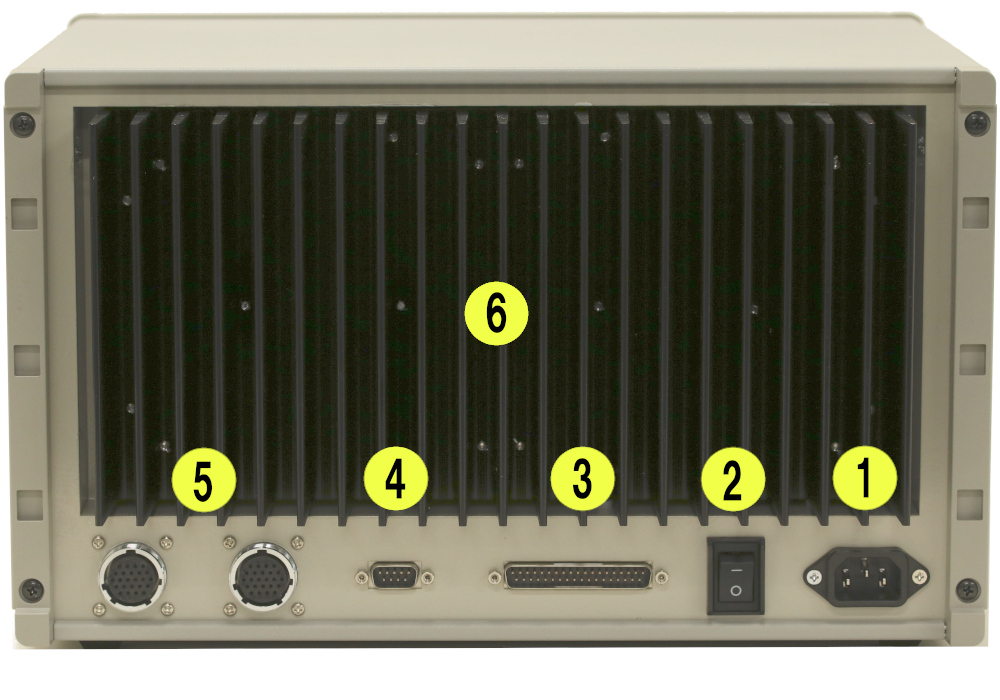
①Powe socket
②Main SW
③I/O connecter
④RS-232C port
⑤Sensor connector
⑥Cooling fins
- Two types of probes can be used at the same time (for 2 channel model)
-
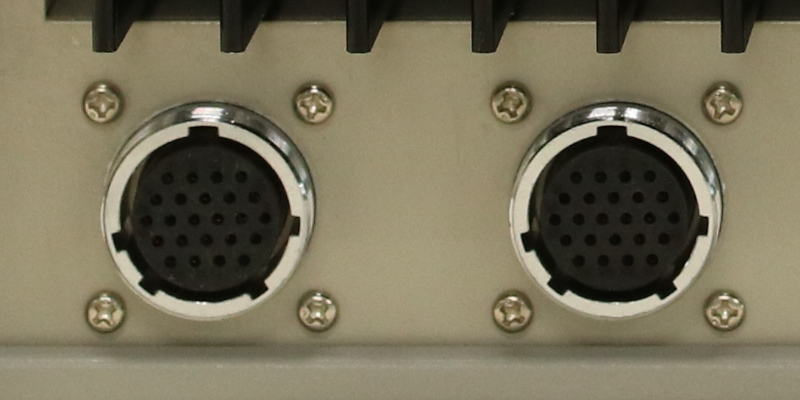
It is possible to inspect two locations at once using two types of probes, or to simultaneously detect nonconforming materials and heat treatment defects.
Since the two channels can be judged individually, two inspection lines for the inner and outer rings of bearings can be processed with one machine.
- A variety of judgment mode and I/O connection terminal that meet a wide range of needs for production lines
-
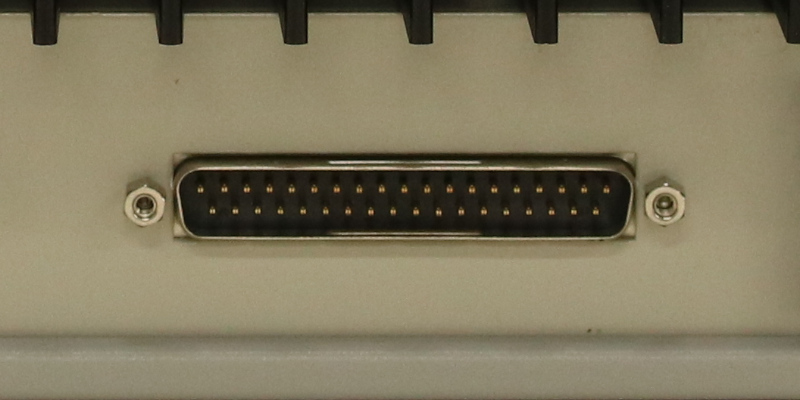
For reliable inspection, the UMS-9000 includes a variety of inputs and outputs.
These I/O connectors make it possible to set up a production line that prevents uninspected products from being released in the event of a power failure, faulty CPU, or mis-operation. Additionally, an I/O box is available as an option for customers upgrading from older devices equipped with I/O terminals.
Download the latest Adobe Acrobat Reader from https://www.adobe.com/.
Specifications
| Test Channel | One channel model or two channel model |
|---|---|
| Inspection Method | Electromagnetic induction method |
| Probe Type | Self-induction or mutual-induction |
| Method of Excitation | CH1: Single frequency 22 Vp-p (max) 1.0 Arms (max) CH2: Single frequency 22 Vp-p (max) 1.0 Arms (max) |
| Test Frequency | 10 Hz - 100kHz |
| Sensitivity | 0 dB - 80 dB (0.1 dB steps) |
| Phase | 0 deg - 359.9 deg (0.1 deg steps) |
| Bridge Balance | Electronic balance (subtraction offset for every balance) |
| L.P.F. | 2 - 300 Hz (-24 dB/oct.) |
| Harmonic | Fundamental (1f) or 3rd harmonic (3f) |
| Judgment Mode | PS mode, EG mode, PS+EG mode, Auto mode |
| Calibration | Automatically adjust gain and phase by measuring good samples |
| Memory size | 500 inspection configurations for each channel |
| Serial Port | RS-232C (9600 bps - 115200 bps) |
| External Control Inputs | P、N、PS、EG、BAL、OPT |
| External Control Outputs | NG、OK、TIM、OPE、SET、EXA、EXB、RUN |
| Display | 10.4 inch TFT color LCD touchscreen |
| Environmental | Temperature range: 0 ℃ - 40 ℃, Humidity: 10 % - 85 % (without condensation) |
| Dimensions | W: 370 H: 228 D: 301 mm (not including rubber legs and connecters) |
| Weight | Approximately 11 kg |
| Power | AC 100 - 240 V ±10 %, 50 / 60 Hz |
| Power Consumption | Approximately 120 V |
| Accessories | AC power cable |
