- NDI division TOP
- Legacy Products
UMS-8000 - Nonconforming-Material Detector for Production Lines

Nonconforming-Material Detector
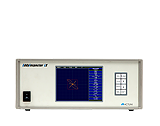
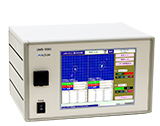
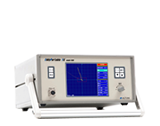
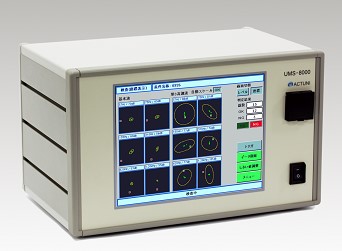
The UMS-8000 is a non-destructive testing device used to inspect products for nonconformity in terms of material, heat treatment, and shape using an electromagnetic testing method. The device allows test conditions to be set automatically, making it easy for even inexperienced users to operate it. It is particularly suitable for automatic inspection of bearings, automotive parts, and other products on mass-production lines. Six excitation frequencies and two detection methods can be used to inspect for nonconforming materials and improperly heat-treated products with high accuracy.
Main Features
- Six excitation frequencies and 12 thresholds enable highly accurate inspection
-
Unlike conventional detectors, the UMS-8000 can excite up to six frequencies and simultaneously measure the effect of eddy currents at different depth of penetration in a single inspection.
By dividing detection signals into fundamental and harmonic components for each excitation frequency, the detector uses 12 thresholds for evaluation, enabling high-speed, high-accuracy inspection.
- Intuitive testing views
-
Test results can be displayed in two views: level view and coordinate view.
The level view shows values and histograms representing deviations from the threshold for classifying products as conforming, which allows you to intuitively understand pass/fail results.
The coordinate view shows a total of 12 types of changes in coil impedance plotted for different excitation frequencies and signal processing, visually representing variations in measurements.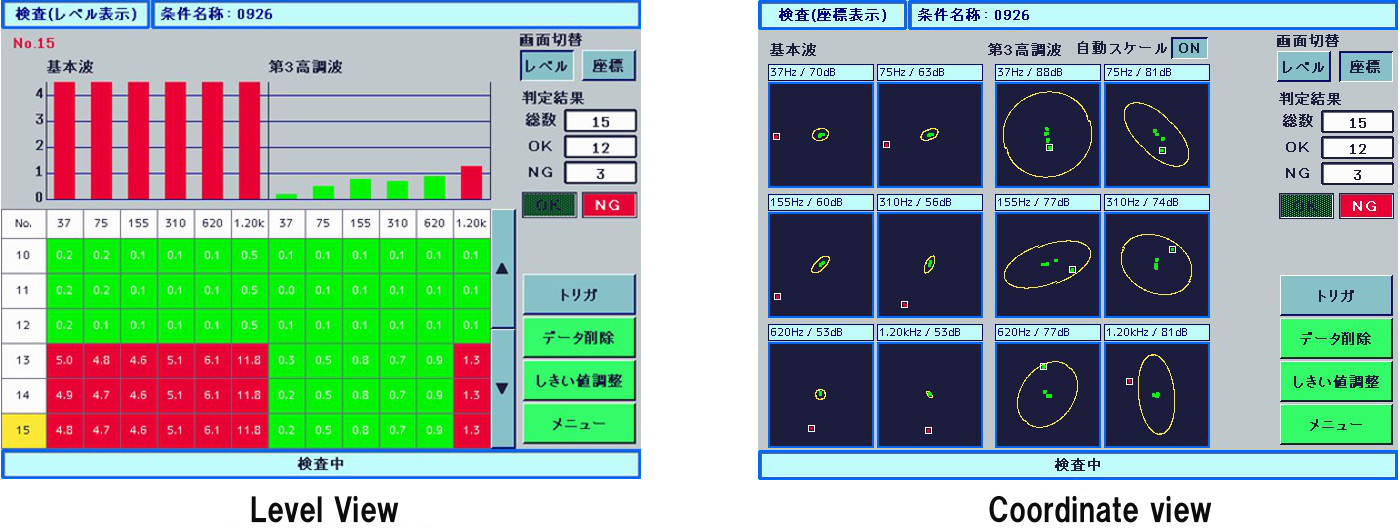
- Automatic threshold creation ensures simplicity for inexperienced users.
-
Simply passing a master sample of a conforming product through the detection area of the device automatically creates test conditions such as sensitivity and pass/fail thresholds. This feature makes it easy to register test conditions.
The threshold range can be adjusted by increasing or decreasing the standard deviation σ.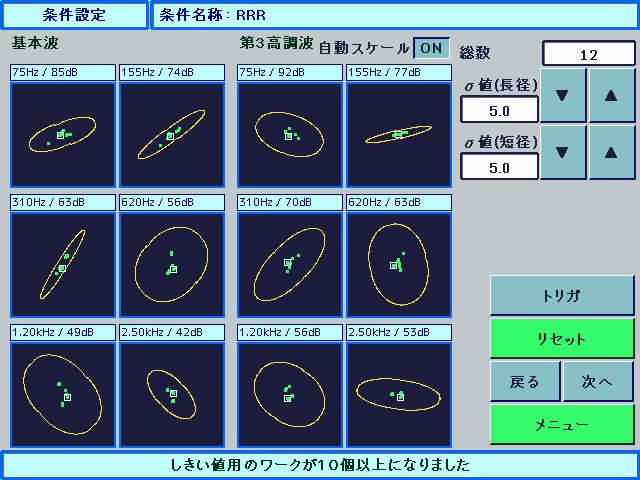
- Capable of registering up to 300 inspection parameter setups
- The UMS-8000 can register up to 300 parameter setups used to inspect products. Individual parameter setups can be named (using alphanumeric characters and symbols) and easily listed, selected, or deleted.
- A wealth of control inputs and outputs
-

For reliable inspection, the UMS-8000 offers a wealth of inputs and outputs used to signal anomalies, such as a disconnected sensor or a faulty CPU.
- Password protection prevents inexperienced operators from accidentally changing advanced settings
-
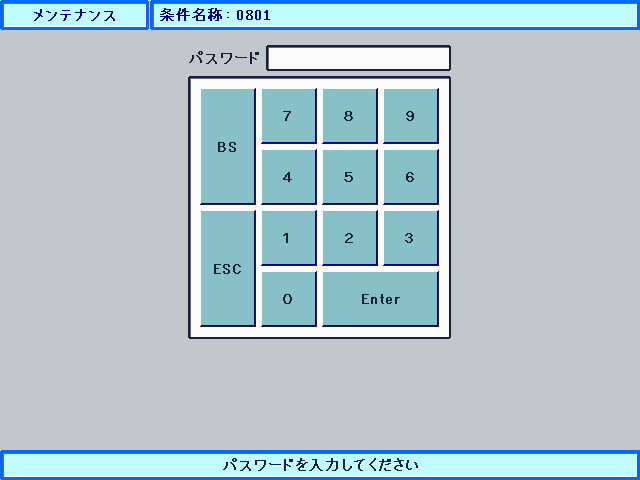
The UMS-8000 has a four-digit administrator password configured to prevent its advanced parameter settings from being accidentally changed. Although any operators can select inspection parameter setups or adjust some parameters, the fundamental settings are protected by the password.
Download the latest Adobe Acrobat Reader from https://www.adobe.cm/.
Specifications
| Probe Type | Mutual-induction or self-induction |
|---|---|
| Excitation Power | Time-division multiplexing (TDM) excitation 22 Vp-p (max) 2.0 A (max) |
| Test Frequency | 6 frequency selections from amang the following: 10, 19, 37, 75, 155, 310, 620, 1200, 2500, 5000, 6000, 7000, 8000, 9000, and 10000 Hz |
| Sensitivity | 0 dB - 102 dB(Autoset) |
| Signal Processing | Fundamental frequency (1F) and the 3rd harmonic (3F) |
| Display | 10.4 inch TFT color LCD touchscreen |
| Inspection Capability | Approximately 60 parts / minute (depends on test frequency setting) |
| Memory | Stores 400 inspection configurations(depends on memory size) |
| Judgment Mode | EG mode or Manual mode |
| Serial Port | RS-232C |
| External Control Inputs | EG, BAL and OPT |
| External Control Outputs | OK, NG, TIM, OPE, SET and RUN |
| Environmental | Temperature range: 5 ℃ - 40 ℃, Humidity: 10 % - 85 % (without condensation) |
| Dimensions | W: 370 H: 222 D: 230 mm (not including rubber legs and connecters) |
| Weight | Approximately 8.5 kg |
| Power | AC 100 - 240 V ±10 %, 50 / 60 Hz |
| Electric Energy Consumption | Approximately 90 VA |
